knowledge-base
K8s 部署 Postgres

本篇只涉及 Postgres 的部署操作,不涉及概念知识。
特别说明:Postgres 相对于普通的程序应用而言,属于有状态的服务,因为它存储的数据是需要持久保存的,这点决定了我们选择 K8s-StatefulSet 的部署而非 K8s-Deployment。
提前准备
- K8s 集群,本文使用的是AWS EKS集群服务
- 一台可以连接 K8s 集群的服务器,已经安装 kubectl 和 docker 等基础应用
K8s资源文件
postgres-namespace.yaml:
apiVersion: v1
kind: Namespace
metadata:
  name: postgres
postgres-config.yaml:
apiVersion: v1
kind: ConfigMap
metadata:
  name: postgres-config
  namespace: postgres
  labels:
    app: postgres
data:
  POSTGRES_DB: master
  POSTGRES_USER: dba
  POSTGRES_PASSWORD: pg_pass
这里的数据库密码涉及到信息敏感,更建议使用 Secret 资源而非 ConfigMap,这里就偷懒了。
postgres-statefulset.yaml:
apiVersion: apps/v1
kind: StatefulSet
metadata:
  name: postgres
  namespace: postgres
spec:
  serviceName: "postgres"
  replicas: 1
  selector:
    matchLabels:
      app: postgres
  template:
    metadata:
      labels:
        app: postgres
    spec:
      containers:
        - name: postgres
          image: postgres:9.5
          envFrom:
            - configMapRef:
                name: postgres-config
          ports:
            - containerPort: 5432
              name: postgredb
          volumeMounts:
            - name: postgres-data
              mountPath: /var/lib/postgresql/data
              subPath: postgres
  volumeClaimTemplates:
    - metadata:
        name: postgres-data
      spec:
        accessModes: ["ReadWriteOnce"]
        storageClassName: gp2
        resources:
          requests:
            storage: 4Gi
在这个 yaml 中,可以看到我们使用了之前创建的 configmap 来设置环境变量;
在文件的底部,我们使用了
gp2的storageClass帮助我们自动创建 PV、PVC, 以及关联,你可能需要替换。
postgres-service.yaml:
apiVersion: v1
kind: Service
metadata:
  name: postgres
  namespace: postgres
  labels:
    app: postgres
spec:
  ports:
    - port: 5432
      name: postgres
  type: LoadBalancer
  selector:
    app: postgres
创建Postgres
先创建 postgres 命令空间
kubectl apply -f postgres-namespace.yaml
再创建其他资源即可
kubectl apply -f postgres-config.yaml
kubectl apply -f postgres-statefulset.yaml
kubectl apply -f postgres-service.yaml
因为我们是在 AWS 的 EKS 集群中创建资源,所以在以上命令执行完成后,我们可以在 AWS 的 Volume 中找到我们创建的存储卷。

查看该卷信息,发现它其实已经挂载在集群的一个节点上去了。
验证Postgres
我们使用以下命令查看我们创建的 postgres-service
kubectl get pod -n postgres
kubectl get svc -n postgres
输出如下,说明我们的 postgres 已经部署成功

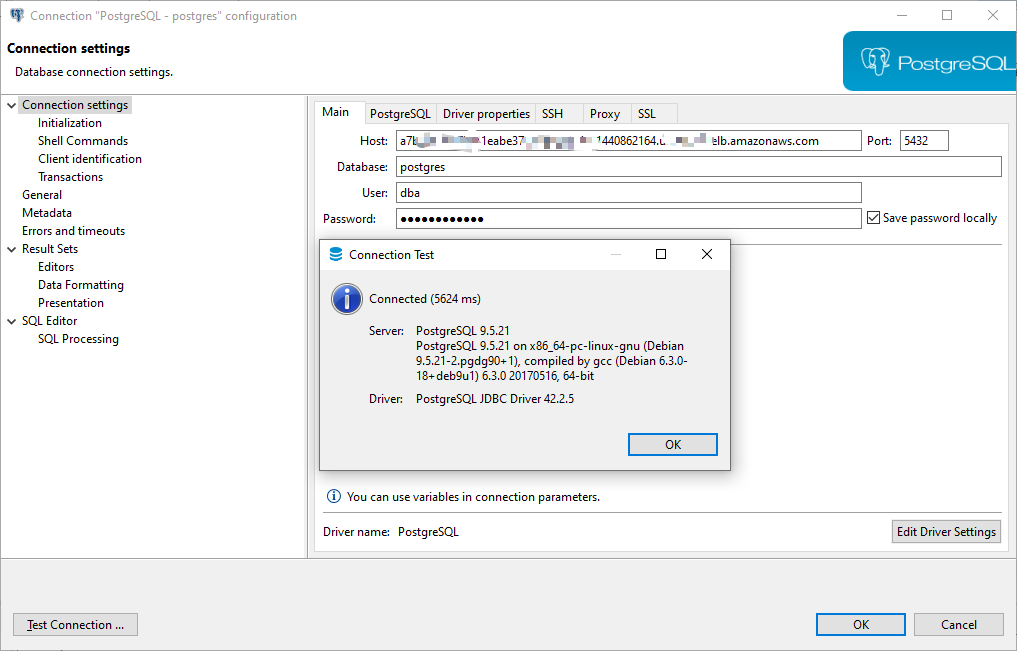
推荐使用 DBeaver 数据库可视化工具测试连接 postgres,使用的 host 正是输出的 EXTERNAL-IP 列的信息,而其他连接信息在我们的 ConfigMap 中。
